Introduction to the Pneumatic Welding Cycle
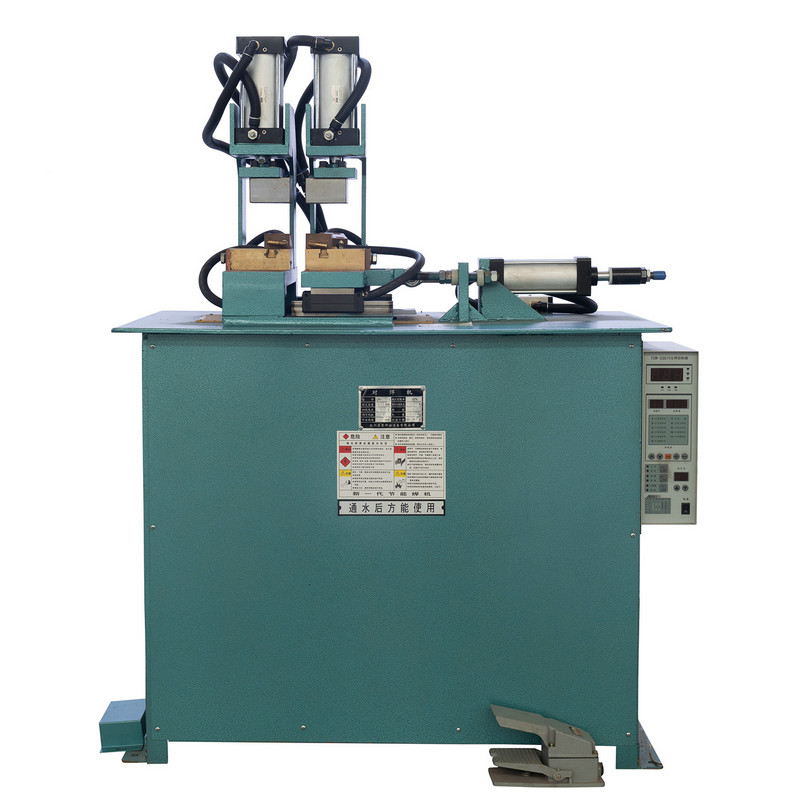
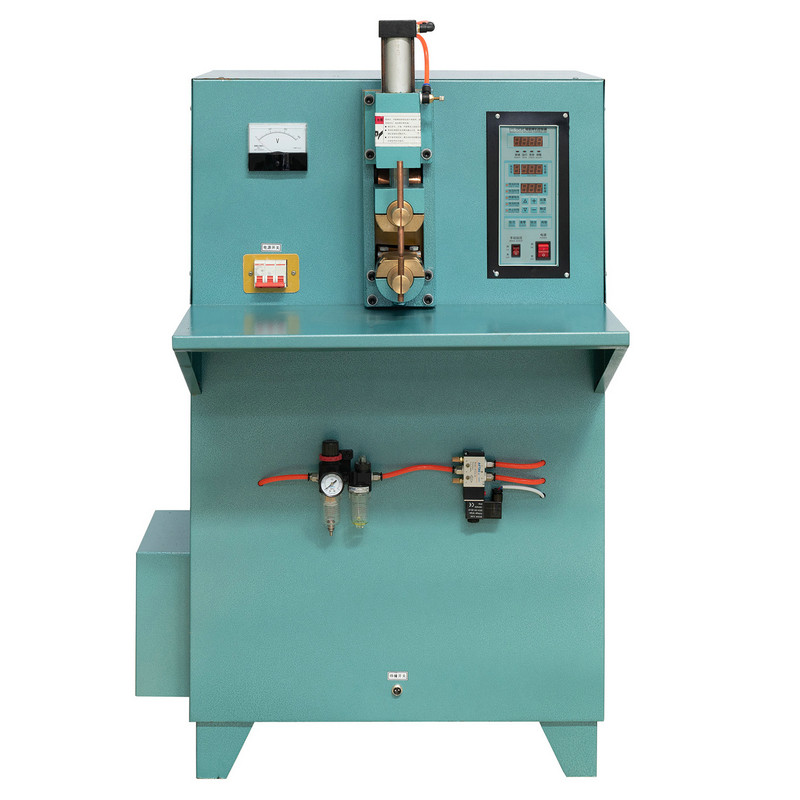
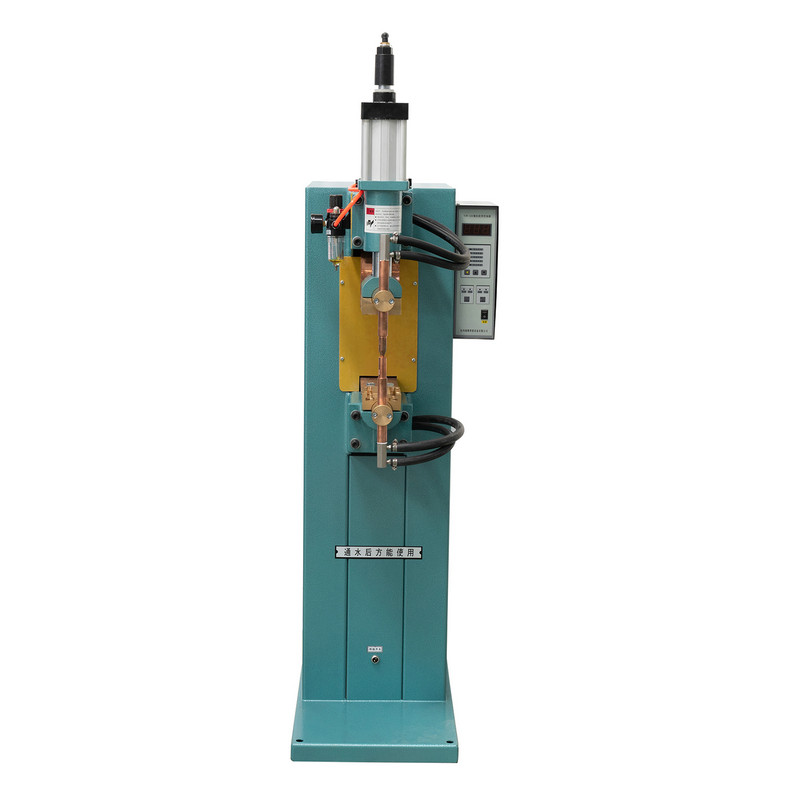
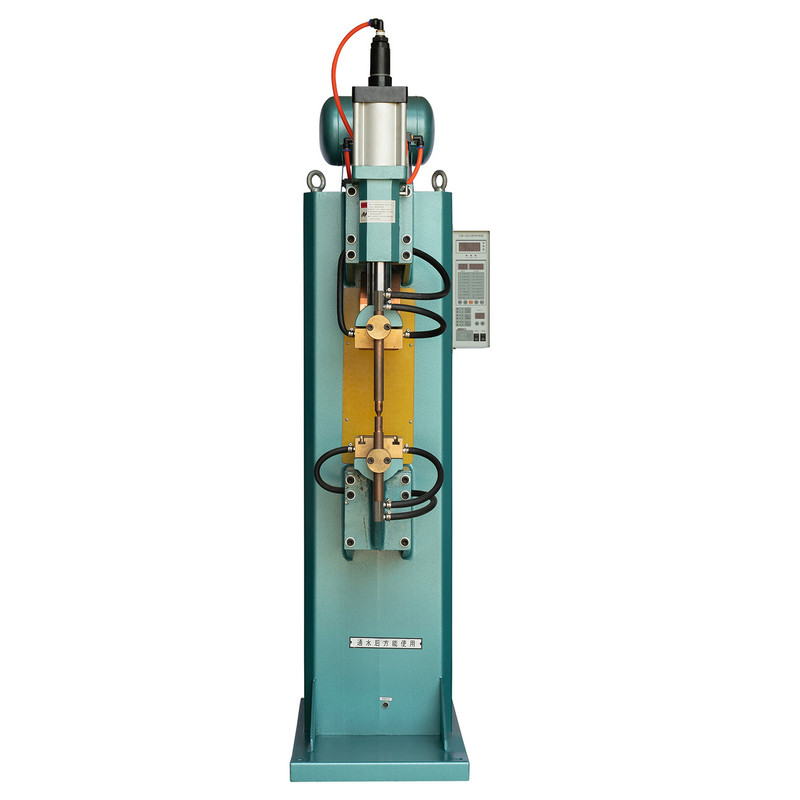
In the realm of industrial fabrication, achieving consistent, high-strength welds is a cornerstone of quality and efficiency. Among the various methods available, the pneumatic pressure application butt welding machine stands out for its reliability and repeatability in joining similar materials. This process, fundamentally centered on the application of controlled air pressure to create a forge weld, is deceptively simple in concept yet relies on a meticulously orchestrated sequence of preparation and execution. Understanding the complete workflow—from initial material preparation to the final post-weld inspection—is critical for operators, buyers, and wholesalers to fully appreciate the capabilities and requirements of this equipment.
The overarching principle of this machine is solid-state welding, where two clean, matching surfaces are brought together under significant heat and pressure, causing them to coalesce without the material reaching its melting point. The “butt” refers to the configuration where the two workpieces are aligned in the same plane, and their ends are pressed together. The pneumatic element specifies that the force required for this forging action is generated by compressed air, a clean and readily controllable power source. The consistency of the weld is directly tied to the consistency of the preparation and the stability of the pneumatic pressure, making the entire procedure a testament to precision engineering. For businesses involved in high-volume production of items like automotive components , window frames , or tubular furniture , mastering this process is synonymous with ensuring product integrity and manufacturing economy.
Phase 1: Comprehensive Pre-Weld Preparation
The success of any welding operation is largely determined long before the heating element is activated or pressure is applied. For a pneumatic pressure application butt welding machine , the preparation phase is non-negotiable. Inadequate preparation almost invariably leads to weld defects, rejected parts, and operational downtime. This phase can be broken down into several critical sub-processes, each addressing a different prerequisite for a perfect weld.
Material Selection and Verification
The first step involves a rigorous check of the materials to be joined. A pneumatic pressure application butt welding machine is designed to weld similar materials. Attempting to weld dissimilar metals or plastics with different melting points and flow characteristics will result in failure. Therefore, verifying that both workpieces are of the same grade and composition is paramount. Furthermore, the geometry of the parts must be inspected. The ends to be welded must be square and flat to ensure full contact across the entire cross-section when they are brought together. Any significant deviation from squareness will create a gap, leading to an incomplete weld or a phenomenon known as “flash trapping,” where expelled material is forced into the gap, creating a critical weakness. The cross-sectional area of the parts must also be uniform and within the machine’s specified capacity; an oversized part will not heat evenly or may exceed the available forging force.
Critical Surface Preparation
Perhaps the most crucial preparatory step is surface cleaning. The contacting surfaces must be utterly free of contaminants. This includes oxides, oil, grease, moisture, paint, and any other foreign material. The presence of contaminants will prevent atomic bonding and be encapsulated within the weld zone, severely compromising the joint’s mechanical strength and potentially creating voids. The standard method for cleaning involves two stages. First, a mechanical cleaning process, such as using an abrasive pad, a dedicated filing tool, or a wire brush, is employed to remove scale and oxide layers, revealing fresh, base metal underneath. This is often followed by a chemical cleaning step using a solvent like acetone or isopropyl alcohol to dissolve and remove any residual oils or films. It is important to note that the time between cleaning and welding should be minimized to prevent the formation of a new oxide layer, especially on highly reactive metals like aluminum.
Machine Setup and Parameter Configuration
With the workpieces prepared, the pneumatic pressure application butt welding machine itself must be configured. This is a systematic process that involves several adjustable parameters, each of which must be set according to the material type, thickness, and desired weld characteristics. The key parameters include:
- Heating Time and Temperature: For hot plate welding of thermoplastics, the temperature of the heating plate and the duration the parts are held against it (melt time) are set to achieve a sufficient melt layer.
- Pneumatic Pressure Settings: This involves setting the air pressure that controls the welding force. This is typically a two-stage setting: a lower melting pressure (for plastics) or heating pressure and a higher forge pressure or changeover pressure applied during the final joining phase.
- Changeover Time: This is the critical period between the retraction of the heating element and the application of the forge pressure. It must be fast enough to prevent the material surfaces from cooling and oxidizing before they are joined.
- Fusion and Forging Time: This is the duration for which the high forge pressure is maintained after the parts are brought together, allowing the molecules to interdiffuse and the joint to solidify under pressure.
These parameters are often determined through a process of development and testing, and once optimized, they can be stored and recalled for repeat production runs, which is a significant advantage of modern, PLC-controlled machines.
Phase 2: The Step-by-Step Welding Process Cycle
Once preparation is complete, the actual welding cycle can commence. This is a highly automated and sequential process in a well-tuned pneumatic pressure application butt welding machine . The following steps outline a typical cycle for a hot plate welding process, which is a common application for this machine type, particularly with thermoplastics.
Step 1: Clamping and Securing the Workpieces
The prepared workpieces are securely placed into the clamping fixtures of the machine. The primary function of these clamps, which are often also pneumatically actuated, is to hold the parts in perfect alignment and prevent any movement during the welding cycle. Any slippage or misalignment at this stage will result in a defective weld. The clamps must apply sufficient force to counteract the significant forging pressures that will be applied axially later in the cycle. Proper fixturing is what ensures that the two ends to be welded remain in the same plane and are presented correctly to the heating tool and to each other. This step is fundamental to achieving the geometric integrity of the final assembled product.
Step 2: The Heating and Melting Phase
With the parts securely clamped, the next step is the application of heat. A heated platen, often coated with a non-stick material like PTFE, is advanced between the two stationary workpieces. The machine then moves the parts forward, pressing their prepared ends against the hot plate. A specific heating pressure is applied for a predetermined amount of time—the melt time . This pressure is carefully controlled to be high enough to ensure good thermal contact and consistent melting across the entire surface, but not so high as to push the molten material out of the joint zone excessively. During this phase, a bead of molten material, known as the melt bead or heat bead, forms on each part. The size and consistency of this bead are visual indicators of a properly executed heating phase.
Step 3: The Critical Changeover Sequence
This is arguably the most dynamic and time-critical part of the entire cycle. Once the heating timer elapses, the parts retract from the heating platen, and the platen itself retracts from the space between them. This entire sequence must be completed as quickly as possible. The purpose of a fast changeover time is to bring the two molten surfaces together before they have time to cool, oxidize, or skin over. Any delay allows the viscosity of the molten material to increase and the surface to degrade, which will prevent proper molecular interdiffusion and weaken the final bond. In advanced machines, this step is executed in a fraction of a second, ensuring the surfaces are joined in their optimal plastic state.
Step 4: Joining and Forging Under Pressure
Immediately after the changeover, the machine drives the two workpieces together with a high forge pressure . This pressure is significantly higher than the initial heating pressure. The action has two primary functions. First, it intimately brings the two molten surfaces into contact, initiating the interdiffusion of polymer chains across the joint interface. Second, it forges the material, expelling the molten bead (now called the weld flash ) from the joint line. This expulsion is beneficial as it carries away any potential surface contaminants and oxides, leaving behind a clean, hot material to form the bond. The parts are held together under this pressure for a set forging time , allowing the joint to cool and solidify under constraint, which prevents the formation of voids and shrinkage stresses at the weld interface.
Step 5: Solidification and Part Release
After the forging timer completes its cycle, the pneumatic pressure is released. However, the joint has not yet fully cooled to ambient temperature and still possesses reduced strength. The clamps remain closed for a brief, additional cooling period to ensure the weld has sufficient green strength to handle the ejection process. Once this is achieved, the clamping fixtures open, and the finished, welded assembly can be removed from the machine. It is important to allow the assembly to rest and cool completely before subjecting it to any mechanical loads, as the full mechanical properties of the weld develop only after it has returned to room temperature.
Phase 3: Post-Weld Procedures and Quality Control
The process does not end with the release of the part from the machine. A series of post-weld activities are essential for ensuring consistent quality and final product readiness.
Weld Flash Management and Finishing
The weld flash is an inherent byproduct of the forging process. While its formation is a sign of a good weld, as it indicates proper material expulsion, it is often undesirable on the final product for aesthetic or functional reasons. The removal of this flash is a common secondary operation. This can be done manually with hand tools or through an automated trimming station. In some sophisticated systems, a cutting tool is integrated directly into the pneumatic pressure application butt welding machine and is activated immediately after the welding cycle to trim the flash while the material is still warm and more pliable. The method chosen depends on production volume, part geometry, and quality requirements.
Essential Inspection and Testing Protocols
A robust quality control regimen is vital. Initial inspection is often visual, looking for defects such as inconsistent flash, misalignment, or surface voids. However, visual inspection alone is insufficient to verify weld integrity. Therefore, destructive and non-destructive testing methods are employed.
- Destructive Testing: This is typically performed during the initial process development and as part of periodic quality audits. It involves pulling or peeling the weld apart to examine the failure mode. A high-quality weld will fail in the parent material, not at the weld joint, a principle known as “parent material failure.” This confirms that the weld is as strong as or stronger than the base material.
- Non-Destructive Testing (NDT): For 100% inspection in production, methods like a pressure test (for sealed containers or tubing) or visual inspection with borescopes (for internal welds) are used.
The following table summarizes common weld defects, their potential causes, and the phase of the process where the issue originates.
| Defect Observed | Potential Cause | Related Process Phase |
| Incomplete Weld / Lack of Fusion | Insufficient heat, low forge pressure, excessive changeover time, contaminated surfaces. | Preparation, Welding (Heating/Forging) |
| Excessive or Uneven Flash | Too much heat, excessive forge pressure, misaligned clamps. | Preparation, Welding (Clamping/Forging) |
| Voids or Porosity | Moisture in material, surface contamination, insufficient forge pressure. | Preparation, Welding (Forging) |
| Poor Alignment | Worn or improperly set clamping fixtures. | Preparation, Welding (Clamping) |
| Weld Brittleness | Material degradation from excessive heat, incorrect material type. | Preparation, Welding (Heating) |
Machine Maintenance for Consistent Performance
To ensure the long-term reliability and repeatability of the pneumatic pressure application butt welding machine , a proactive maintenance schedule is mandatory. This includes regular checks of the air filtration and regulation system to ensure a clean, dry, and stable air supply for consistent pressure. The heating platen must be kept clean and its temperature periodically calibrated. Clamping fixtures should be inspected for wear and alignment. The moving parts of the machine require lubrication according to the manufacturer’s specifications. A well-maintained machine is the final, critical component in guaranteeing that the meticulously prepared and executed weld process yields a perfect result, time after time.


